How to make a minecraft mod 1.8

Madison Flores
Published May 04, 2026
Launch Minecraft Java and go to “Multiplayer,” then “Direct Connect.” Paste the server IP address into a dedicated field and click “Join Server.” Click “Play,” then “Mods” from the top navigation…
There are other answers below:
This New mod element page may look overwhelming, but it’s a simple tool to use.. For Name of the element, enter a unique name.This isn’t seen in Minecraft, it’s used as an identifier in MCreator and the Minecraft code. For the element type, you can choose what type your new element is.
5. Copy the Minecraft bin and resources folders from your Minecraft installation folder into the jars folder of the MCP installation. e.g. C:Documents and SettingsUserApplication Data.minecraftbin –> C:MCPjars Decompiling the Minecraft source code If you’ve ever had a dig around the minecraft.jar file you’ll have seen a tonne of Java class files.
Step 5: Creating. next go back to workspace. click on the blank block and select all your textures. then click next. select all options. next go to the test symbol (if you dont now where it is look at the picture) and then it should open minecraft with your mod installed. Ask Question.
For a tutorial on setting up Eclipse to make a 1.8 mod, visit the Setting Up Eclipse page. 1.7 Modding [ ] We will most likely not be posting tutorials for the 1.7 modding environment due to the recent release of 1.8.
The enjoyable part about making Minecraft mods. Coding. When starting Eclipse, a message should popup, Your workspace should be at the directory where you extracted your files, and then /eclipse so mine is: “C:\Users\Niek\Desktop\Forge Source versions\forge-1.8 II Hypixel Tutorial\eclipse”. Then press continue.
In Minecraft go to Multiplayer > Direct Connect, and enter the I.P. address in that text field. Then, click Join Server. Once inside your server, pause your game and go code your mod! 2. Create a Mod Next, we’ll create a mod. From the top navigation menu click Play > Mods.
Go to the search bar and type %appdata% and open the folder that shows up in the search. When this folder is open, go to and open the .minecraft folder. Inside this .minecraft folder, you should see a mods folder, open up this folder. Next, paste in your mod we copied earlier.
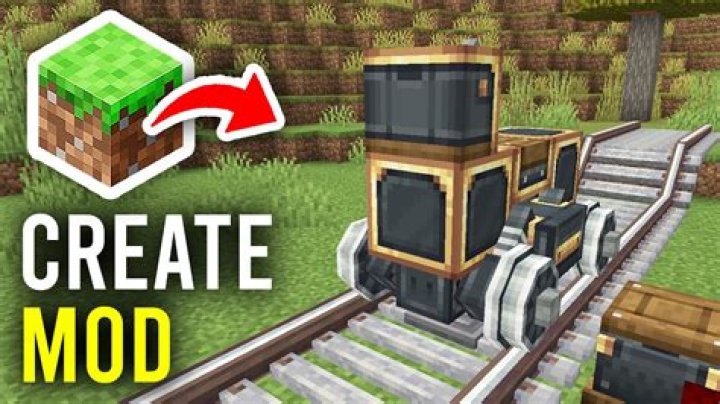
Create runs on Minecraft Forge only. When installing mods manually, make sure to add Flywheel to the mods folder alongside it. (Not required on Servers as of 1.18.1-0.4d) Mod-launcher clients such as Curse or GDLauncher will do this automatically. Thanks to …
Related Questions
How to create a Minecraft mod?
How to create a Minecraft mod?- The Complete Tutorial 1 Install the Java SDK (accept the defaults) 2 Install MCP, we recommend choosing C:MCP as your installation folder 3 Install Notepad++ (again accept the defaults) 4 Create an environment PATH.#N#Just right click on My Computer and click Properties. Go to the Environment Variables… More …
How do I add mods to my Minecraft server?
Paste the server IP address into a dedicated field and click “Join Server.” Click “Play,” then “Mods” from the top navigation menu. Click “Code.” Give your mod a name and click “Blocky” or “JS” to create a mod in a drag-and-drop editor or code it in JavaScript.
Why can’t I create a mod in mcreator?
MCreator is aimed at beginners and the mods it creates are not recognized at large as “real Minecraft mods”. Consider learning Java and using the Forge modding platform to create your mod. This tutorial was created for an outdated version of Minecraft and your experience will most likely not follow this one.
Do you need to know Java to make Minecraft mods?
If you’ve ever wanted to make a mod for Minecraft, this is a good place to start! Minecraft and its mods are written in the Java programming language, therefore many people will say you need to know Java. No, you don’t, however, a basic understanding of how an object-oriented programming language operates is a welcome start.